
Design
Draw and edit nodes
SummaryDraw a custom path on the hoop, then Edit nodes, curves, and sections.
Draw is for paths that are not a regular oval, star, or polygon: a stem, a leaf, a silhouette you trace. The path is Centerline until you close it and convert. See Centerline and outline.
Draw sits in the middle of the top bar, between Move and Shape.
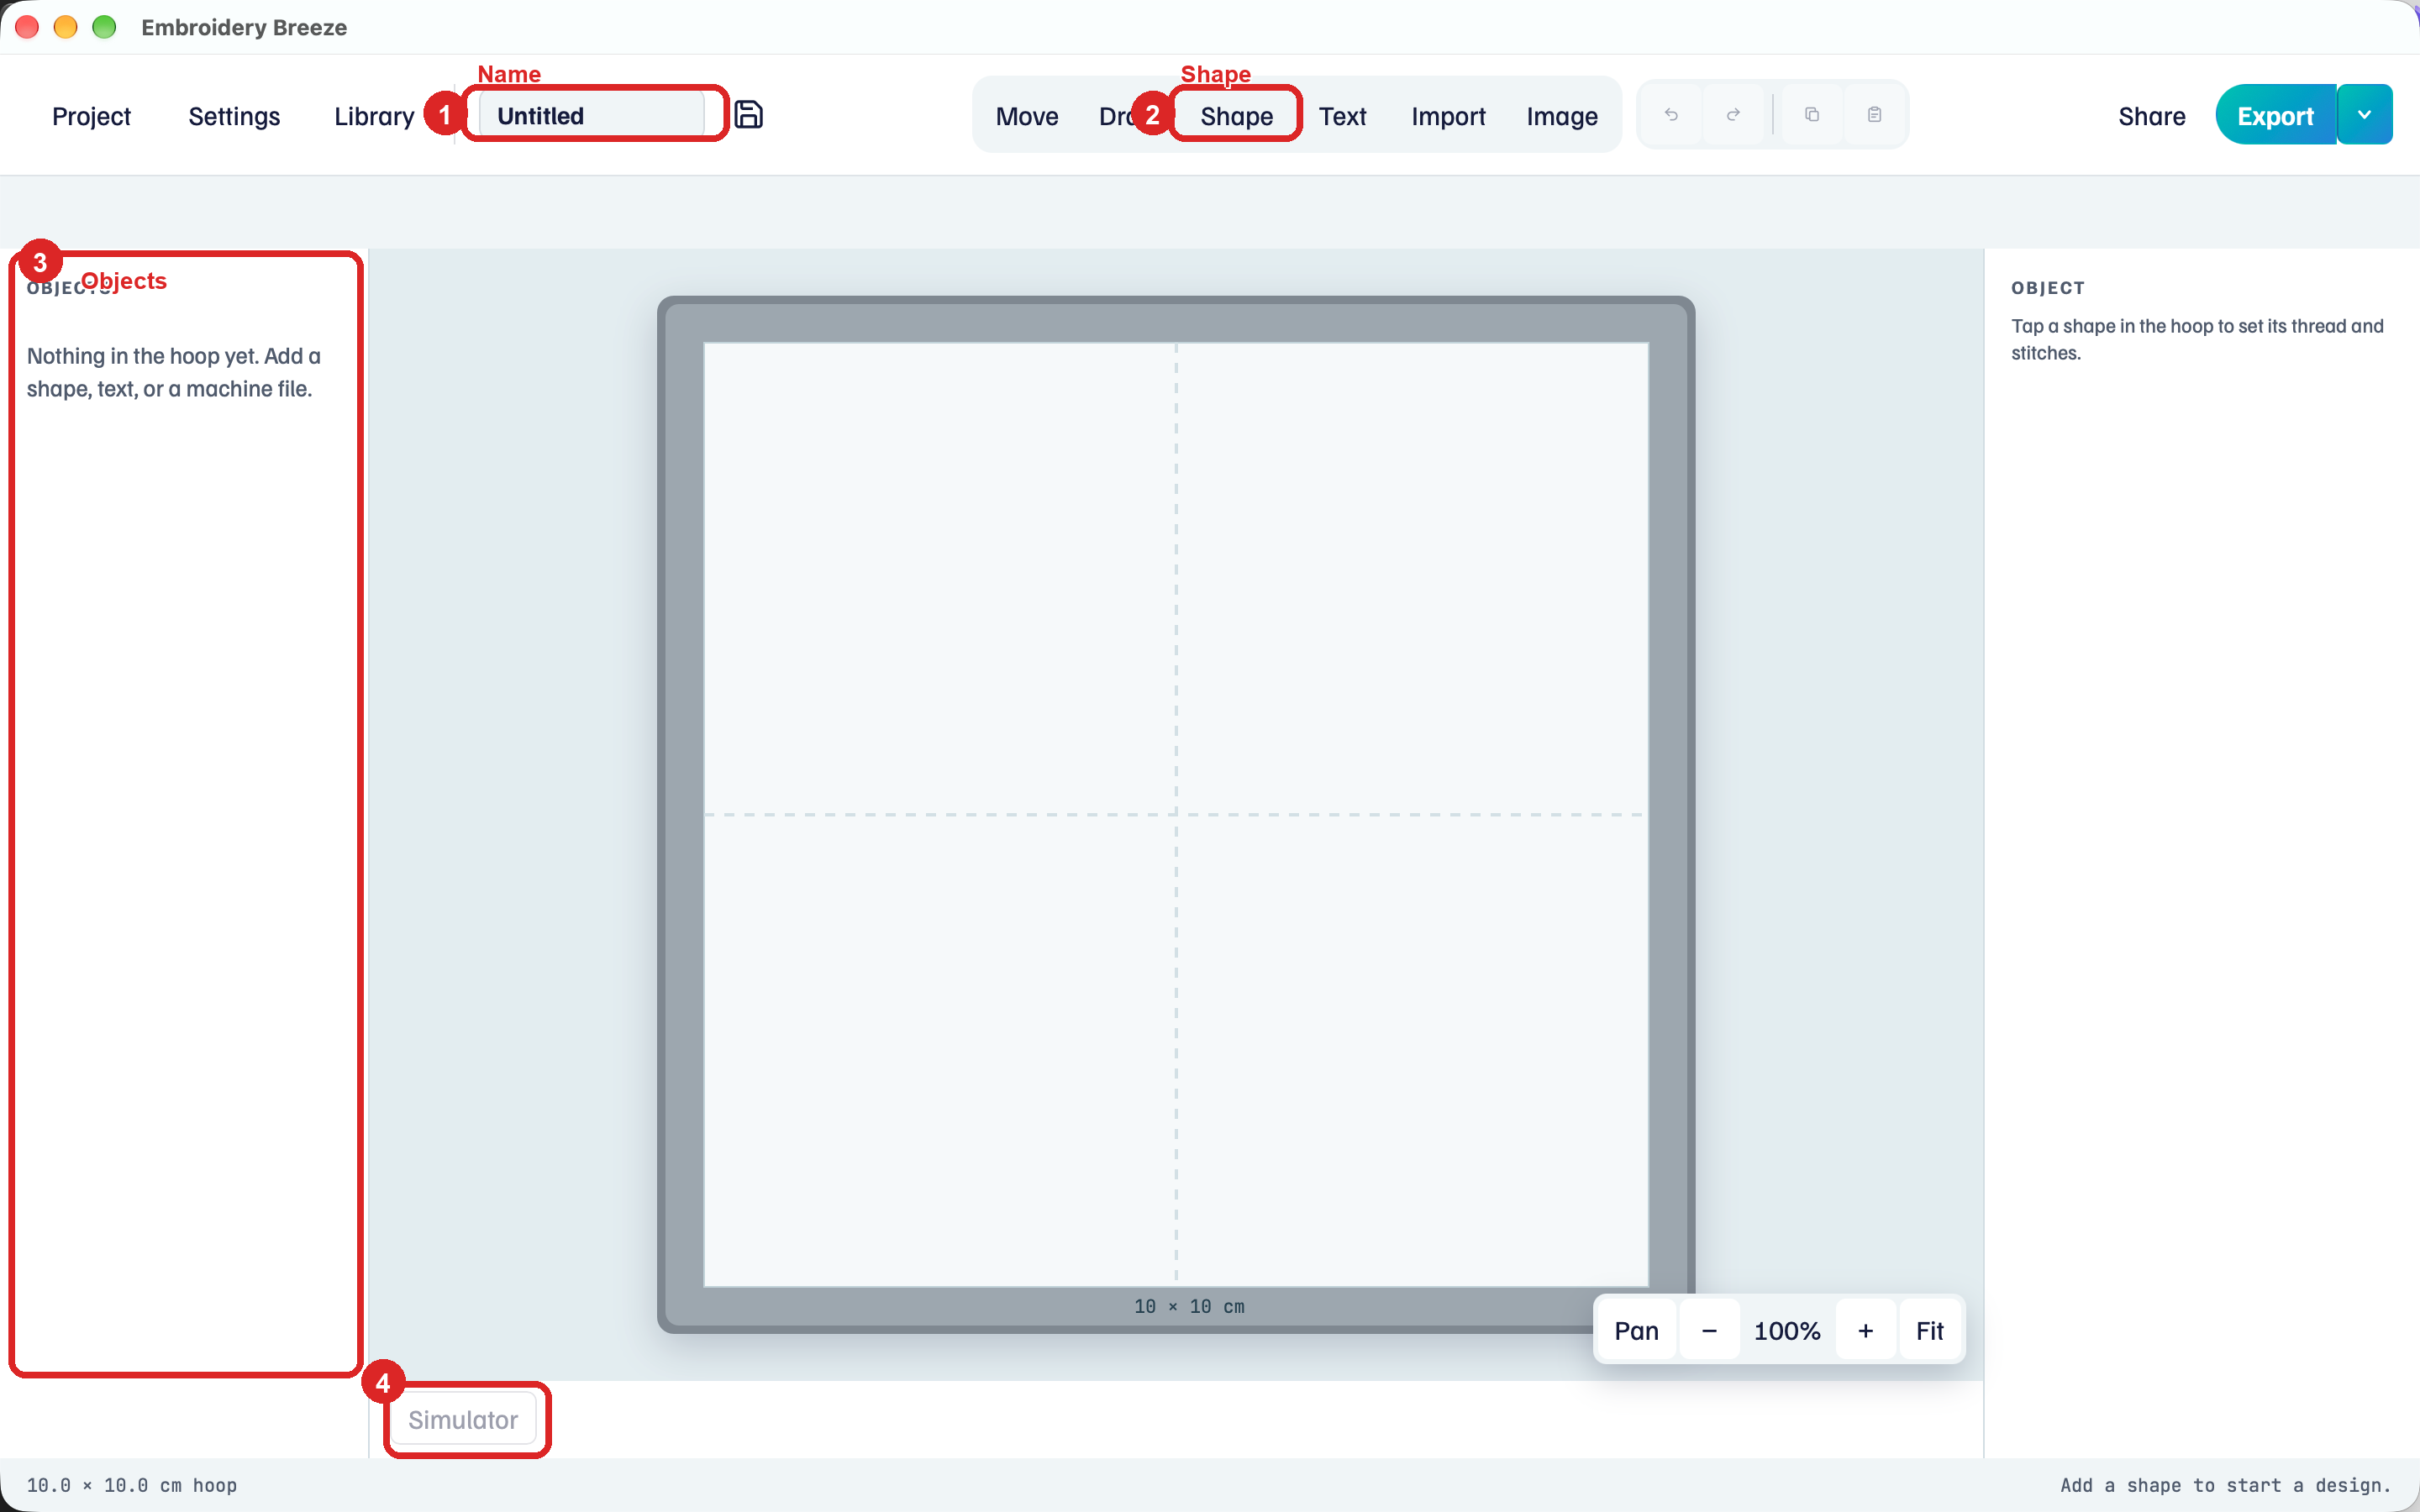
Draw a path
- Click Draw.
- Click the hoop to place the first node. Each new click adds a node.
- Click the first node to close the path, or click Done (Esc also finishes) to leave it open.
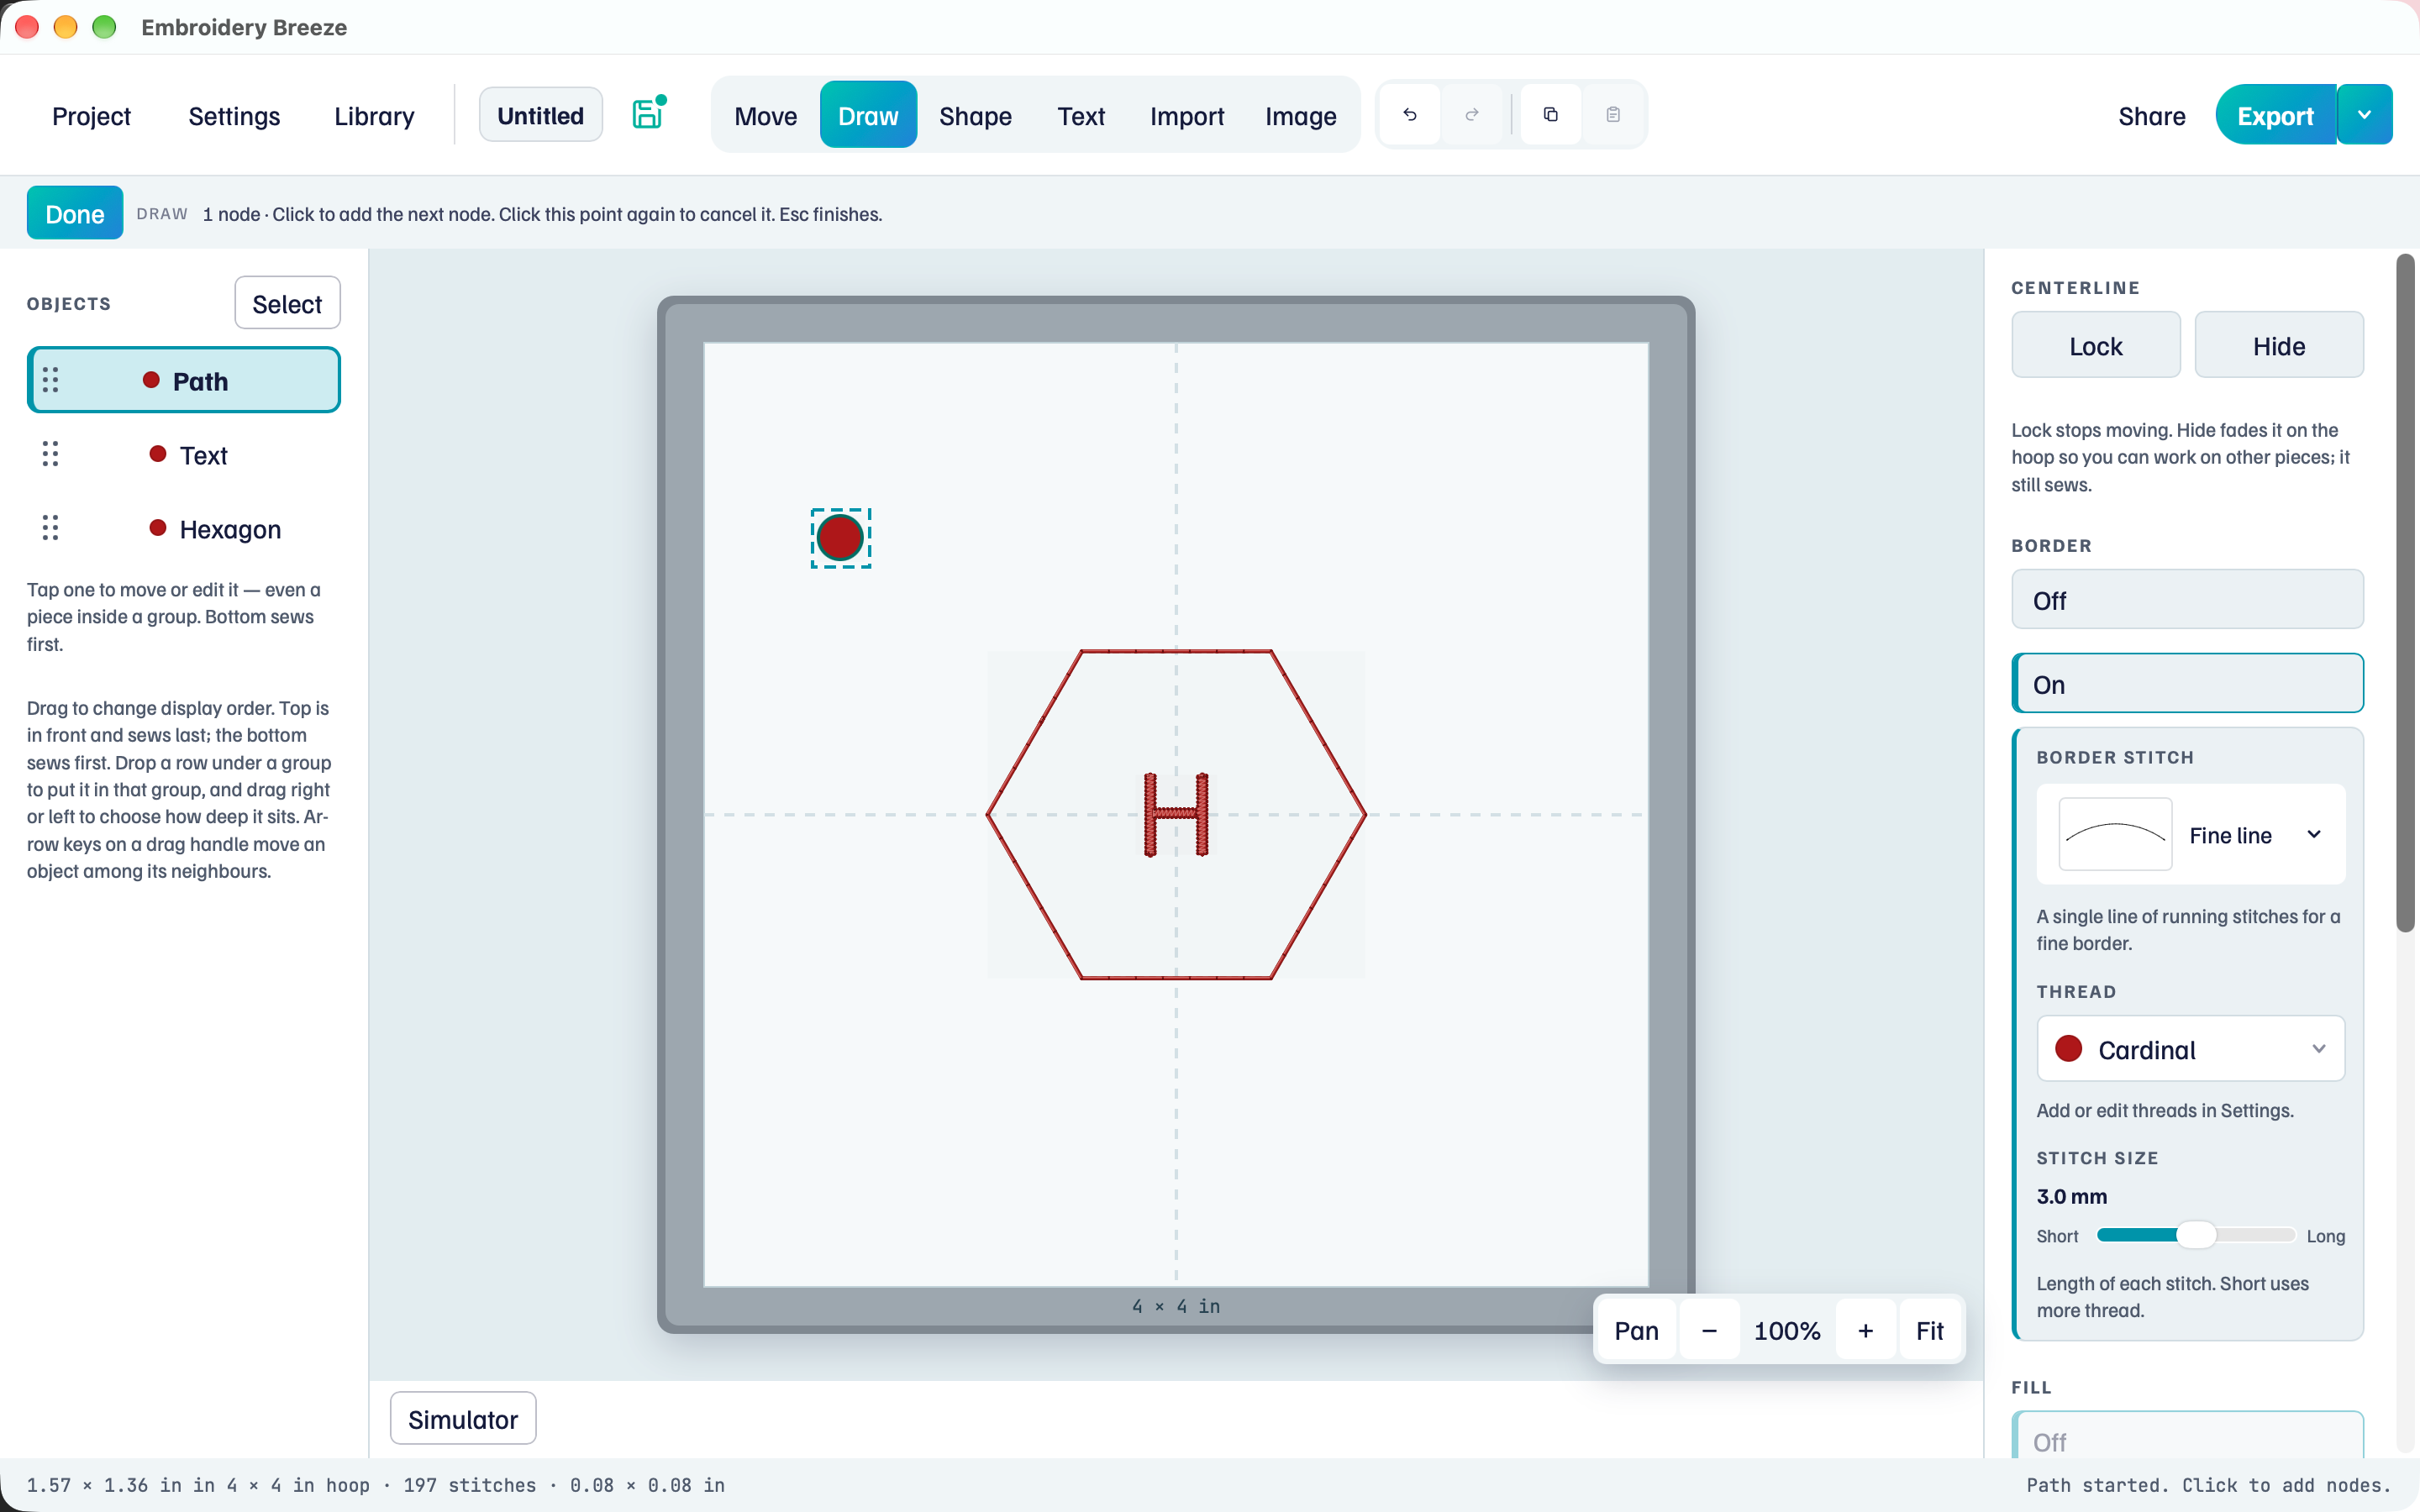
The first click always starts a new path, even if you click near an existing endpoint. Zoom in with + when nodes need to sit close together. Fit shows the whole hoop.
The tool row shows New path, then 1 node, then N nodes, and Done.
Continue drawing
An open path can grow from its end.
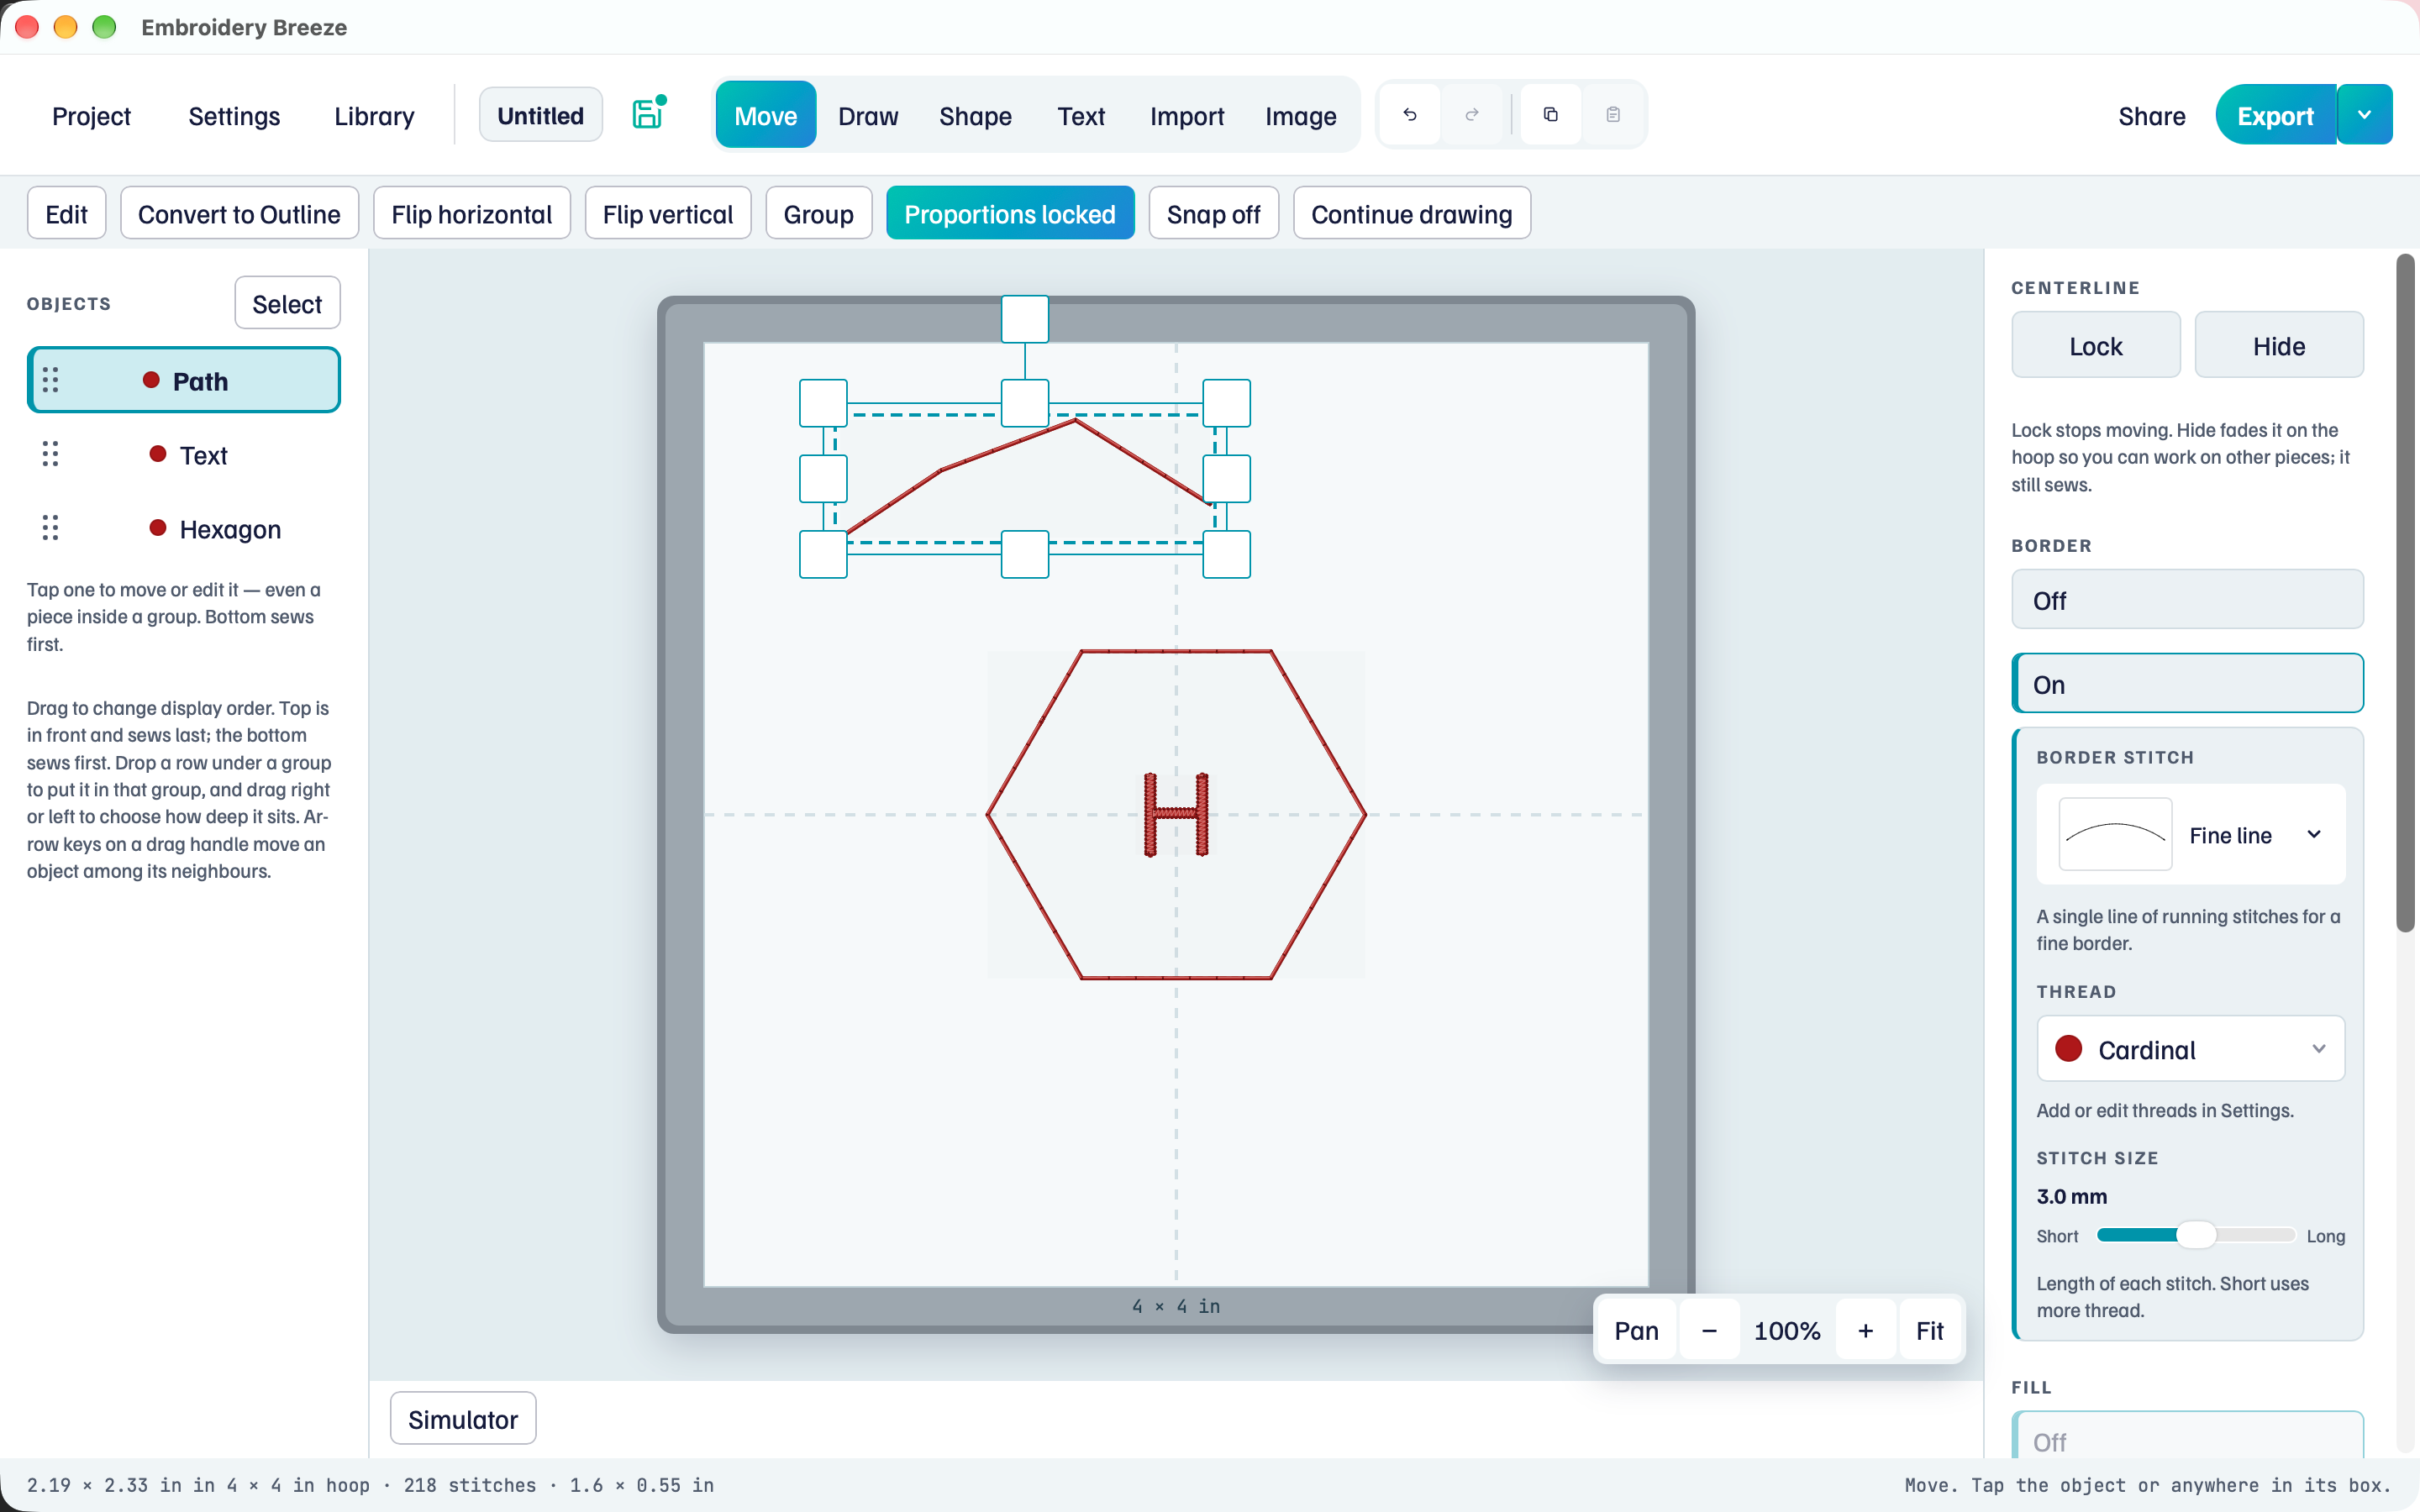
- Select the open path.
- Click Continue drawing on the tool row.
- Click to add nodes. Click Done when the line is long enough.
Closed paths do not show Continue drawing.
Edit nodes
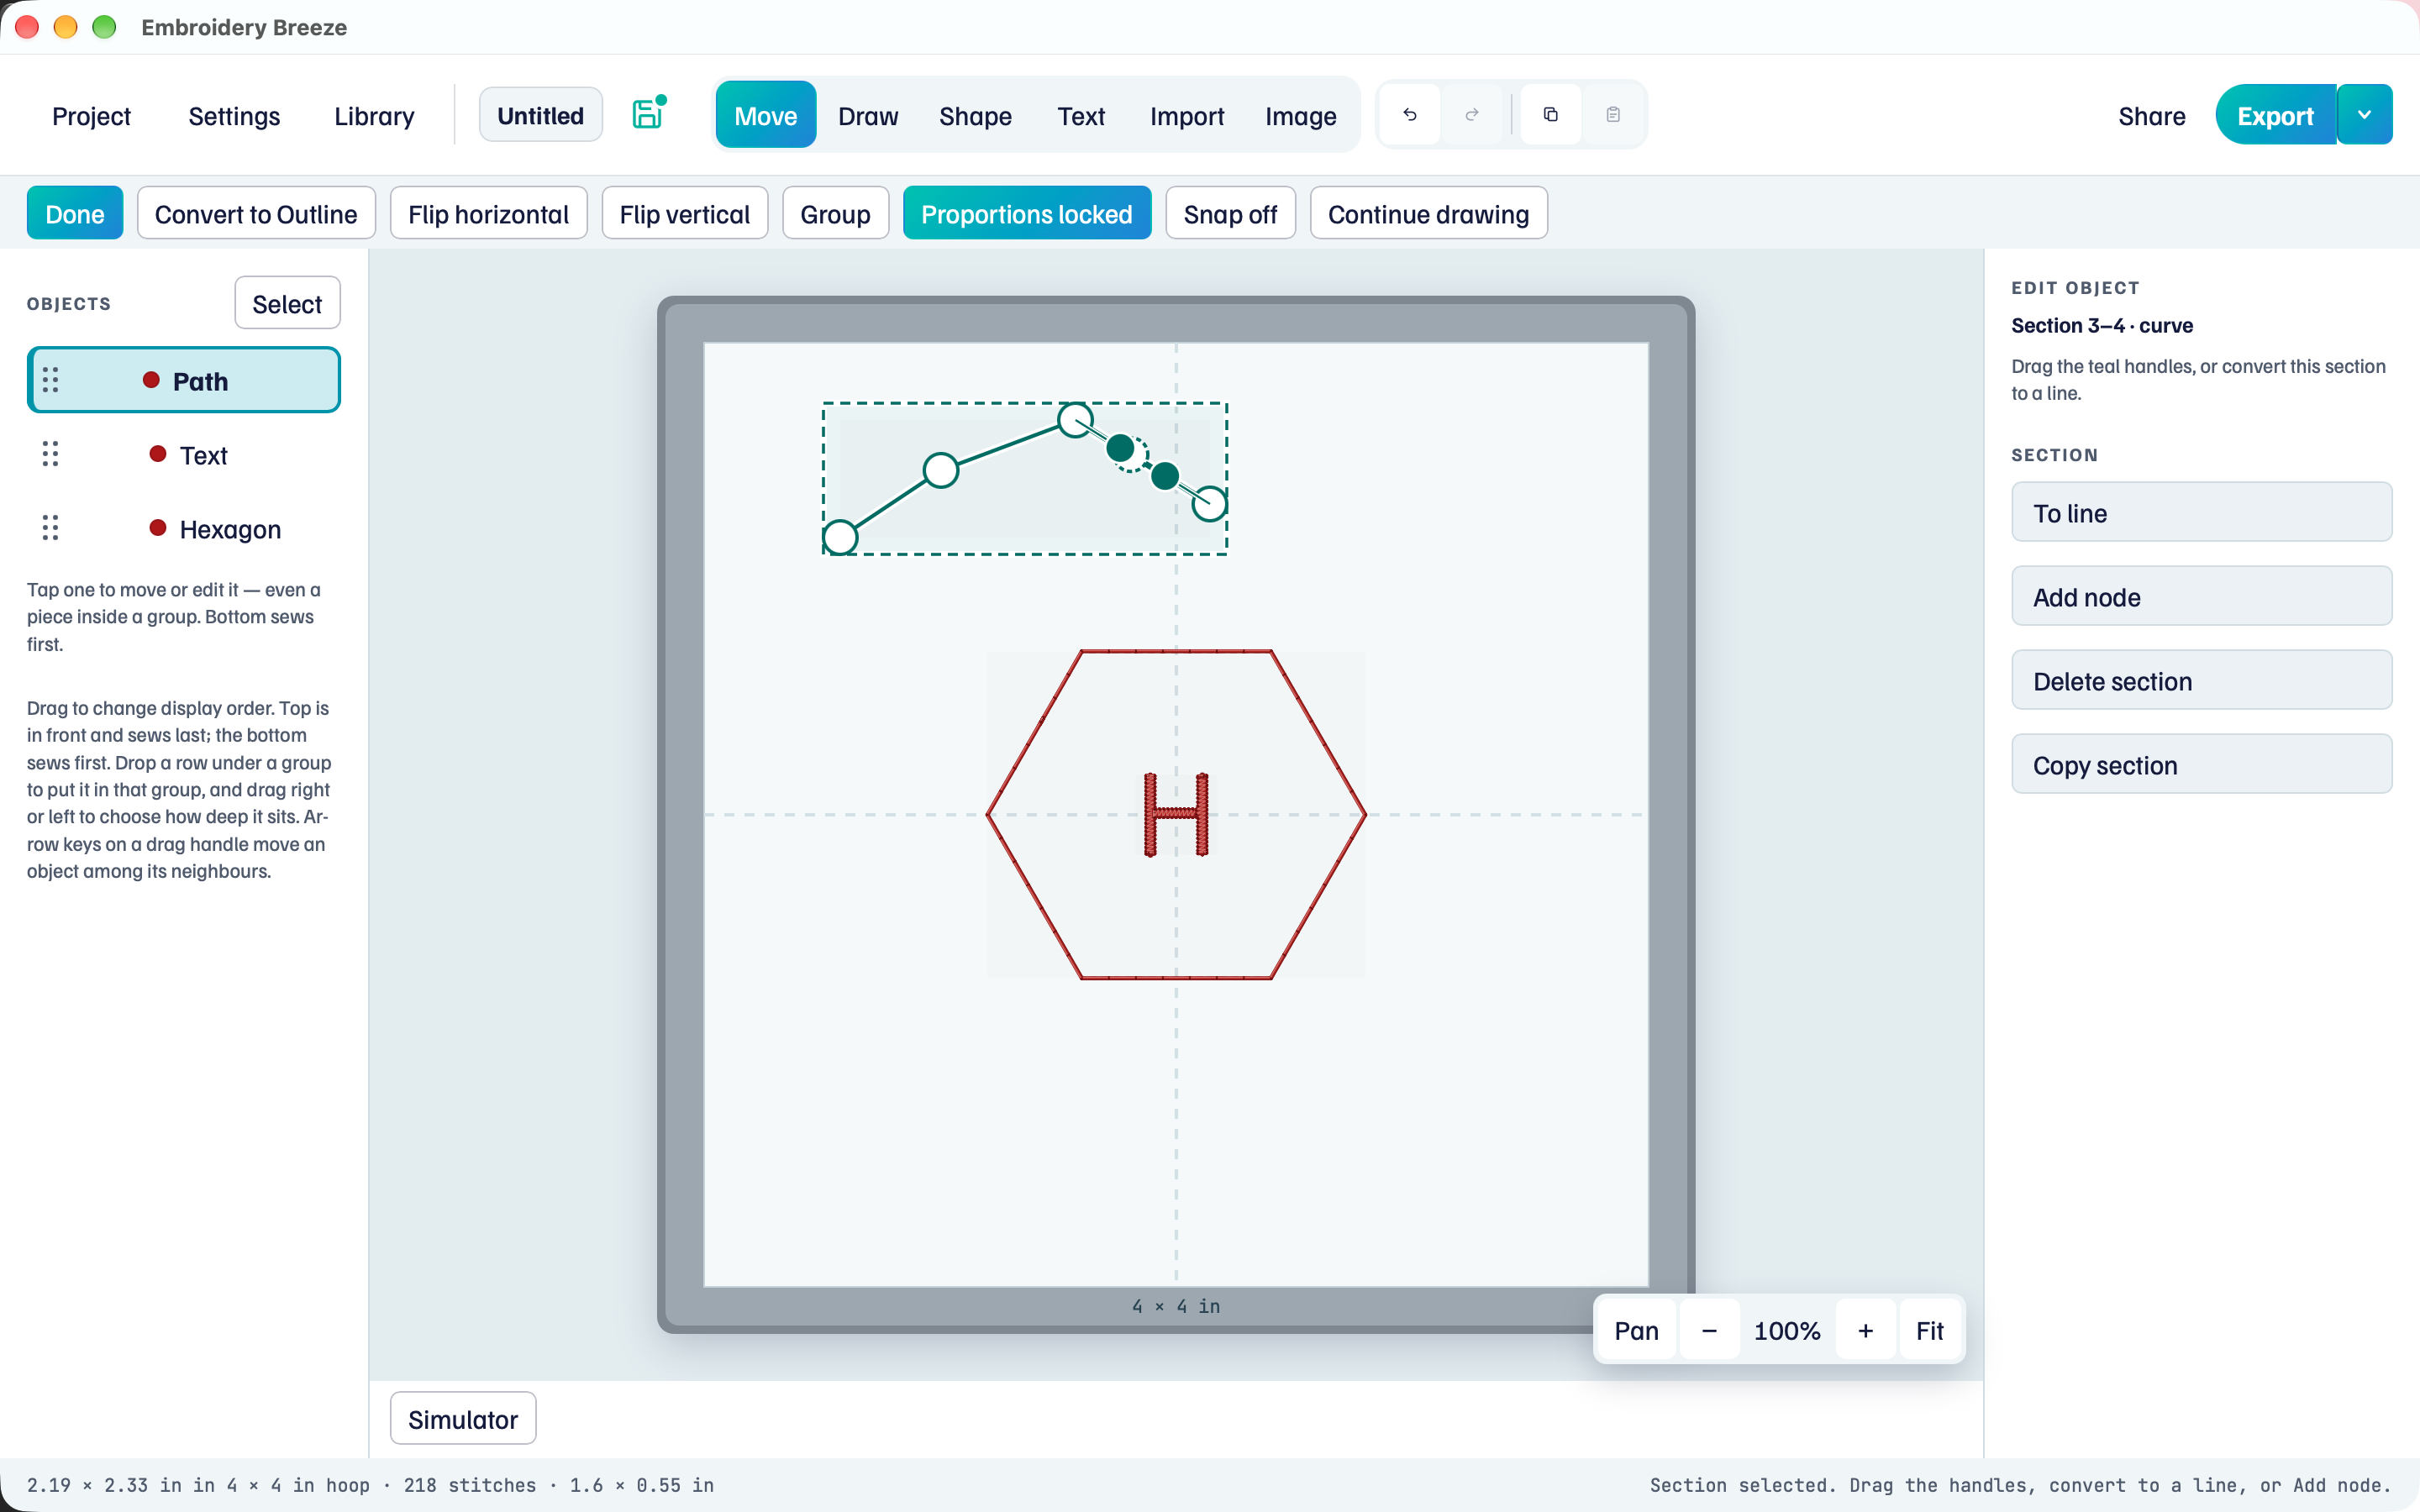
Edit turns the path into nodes you can drag. It is on the tool row when a drawable object is selected (not a group, lettering, or a placed machine file).
- Select the path. Click Edit.
- Drag a node. The box follows the shape.
- Click Done to leave Edit.
The right panel says Edit object. Click a node: Delete node. Click a straight section:
- To curve, then drag the teal handles
- Add node on that span
- Delete section (opens a closed path, or can split into two)
- Copy section, then Paste
On a curve section, To line turns it back into a straight span.
Close and fill
- Click Draw. Click around a triangle.
- Click the first node to close it.
- Under Fill, click On.
The interior fills. The type is still Centerline. Use Convert to Outline when you need a true border, Breaks, and Inclinations.
Stitch choices for the path are in Stitches and fills.